Learn How to Make Pixel Art: A Step-by-Step Tutorial
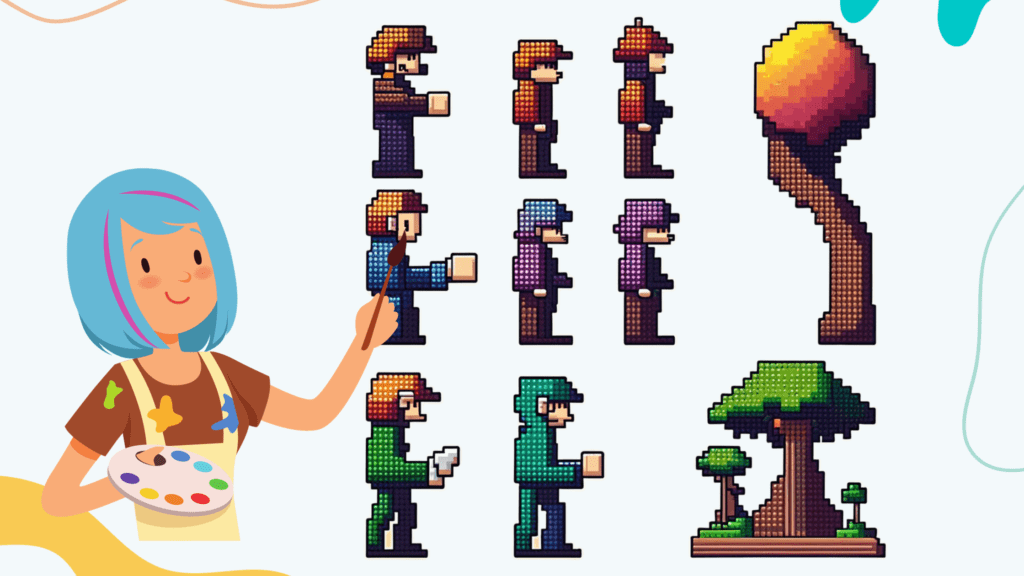
Ah, pixel art – the nostalgic art form that goes back to the early days of video gaming.
Undeniably, it has gained immense popularity in recent years, and it seems that it’s here to stay. Pixel art is characterized by its captivating style that employs the use of tiny, colorful squares or pixels to create visually stunning, yet seemingly low quality images. Whether you’re an aspiring game developer, an artist, or just a curious cat, learning how to make pixel art is an exciting journey.
In this blog post, we will go through the traditional step-by-step process of creating pixel art, and introduce the quicker, more efficient way of generating pixel art using AI.
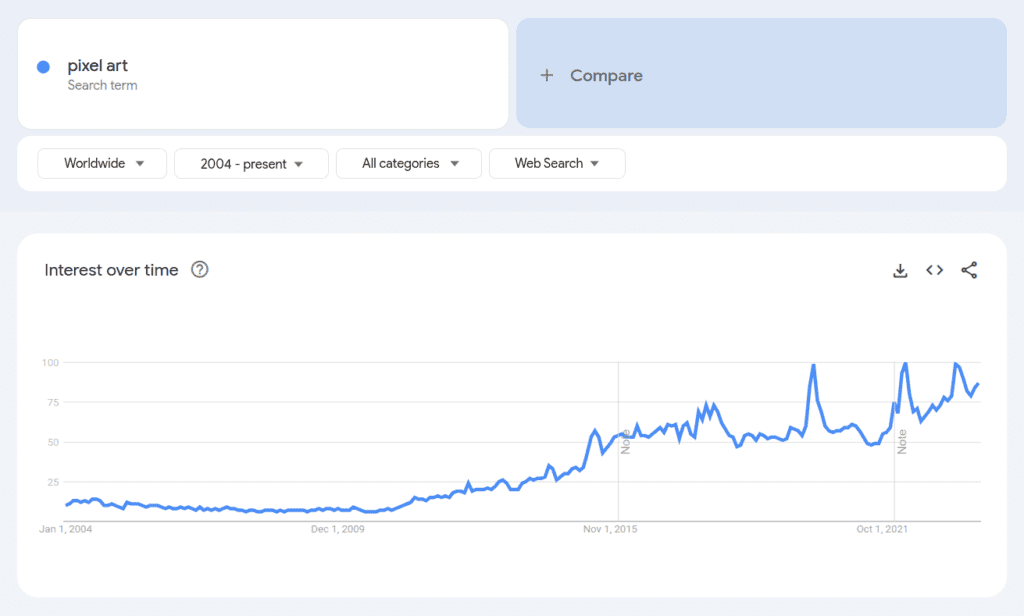
What Is Pixel Art?
Crafting pixel art involves the careful creation of digital imagery through a deliberate focus on precision and simplicity. The artist meticulously designs each image, manipulating individual pixels to construct characters, landscapes, and objects with a distinct and easily recognizable retro charm. The defining feature of pixel art lies in its inherent constraint: every pixel corresponds to a singular color value, giving rise to a blocky visual aesthetic that elicits a nostalgic sentiment. This unique form of artistic expression has played a substantial role in the rich tapestry of video game history and continues to captivate the hearts of both gamers and art enthusiasts on a global scale.
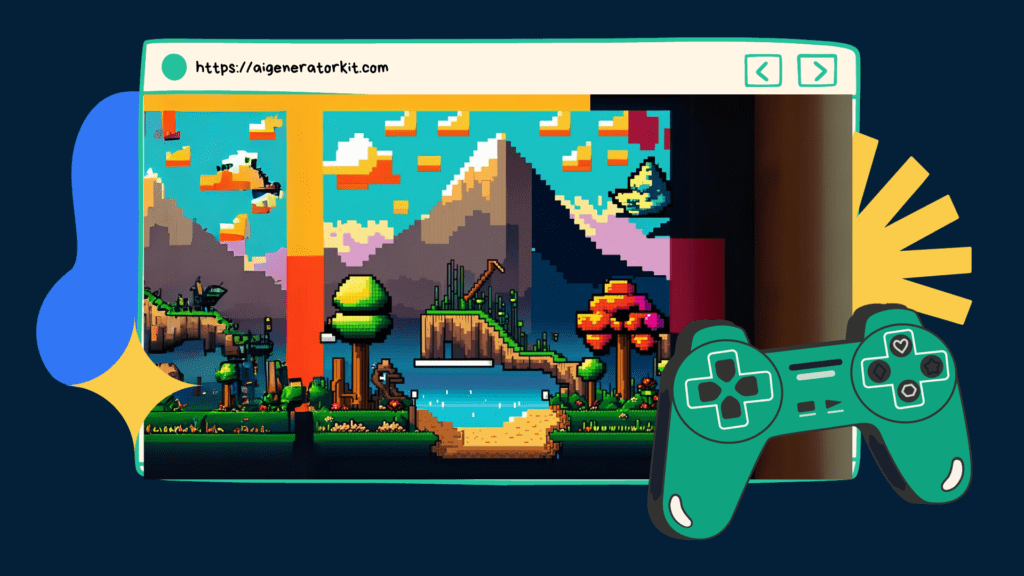
The Traditional Way of Making Pixel Art
1. Pick Your Pixel Art Software
The first step to start making your own pixel art is to select the most suitable software for the job. In essence, this choice lays the groundwork for your entire creative process, impacting the range of tools and features at your disposal.
Survey the landscape of available graphic software, considering factors such as user interface familiarity, tool versatility, and alignment with your artistic preferences. Established options like Photoshop, GIMP, Aseprite, or Pixlr present themselves as noteworthy choices, each offering distinct capabilities tailored to various skill levels.
Conduct a comprehensive evaluation of these platforms, taking into account features such as layer management, pixel-specific tools, and navigational ease. This thorough assessment ensures that the chosen software seamlessly aligns with your envisioned artistic outcome, fostering a more streamlined and gratifying creative experience.
Recognize the significance of this initial step, as the selection of software significantly shapes the trajectory of your creative journey. By investing thoughtful consideration into this decision, you pave the way for a cohesive and fulfilling pixel art creation process.
2. Choose the Sprite and Canvas Size
In the world of pixel art, the canvas and sprite sizes play a pivotal role in the quality of your artwork. Typically, sprites are created with equal length and width, both multiples of 8 (e.g. 8×8, 16×16, 32×32, etc.).
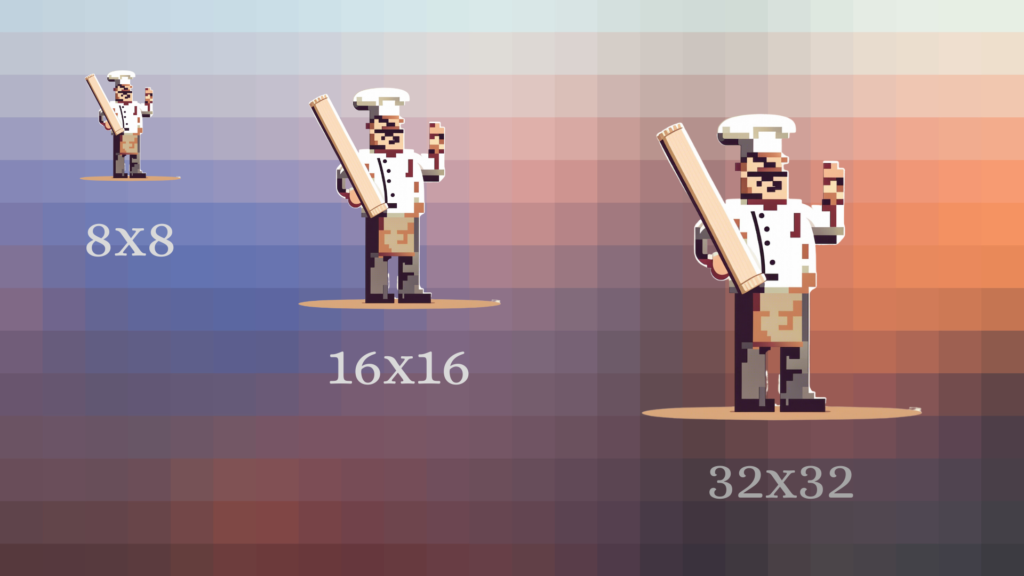
Starting small is advisable, as it allows for a quick grasp of the basics. Focus on honing your skills in maximizing the space of a tiny sprite before venturing into larger sizes. But, let’s say you’re creating sprites for a scene on a 1080p canvas. Even a 32×32 sprite will look disproportionately small. To work around this issue, it is common practice to create the scene on a smaller canvas (e.g. 320×180) and scale up the complete artwork to 1920×1080 at the end.
While there is no fixed rule for sprite size and canvas size, be sure to work with the modern computer user in mind. As at October 2023, the most common screen resolution is 1920×1080, with 1366×768 coming in second, and 1536×864 in third place. Unless you have a very specific target audience or requirements in mind, stick to one of these common canvas sizes when making your pixel art.

3. Draw the Outline of Your Pixel Images
Now that you have the sizing figured out, the next move in crafting your pixel masterpiece is outlining it with a single color. This outline is basically the blueprint that gives your pixel art its shape and structure. You’ve got freedom with the color palette, but it’s smart to go for something dark or contrasting. That way, it stands out against the background and the other colors you’ll be throwing in later.
Now, to sketch that outline, grab your Pencil tool in Aseprite, Adobe Photoshop, GIMP, or your preferred graphics software. This little tool lets you put down individual pixels with surgical precision. And to match the size of one pixel on your canvas, tweak the size of your Pencil tool.
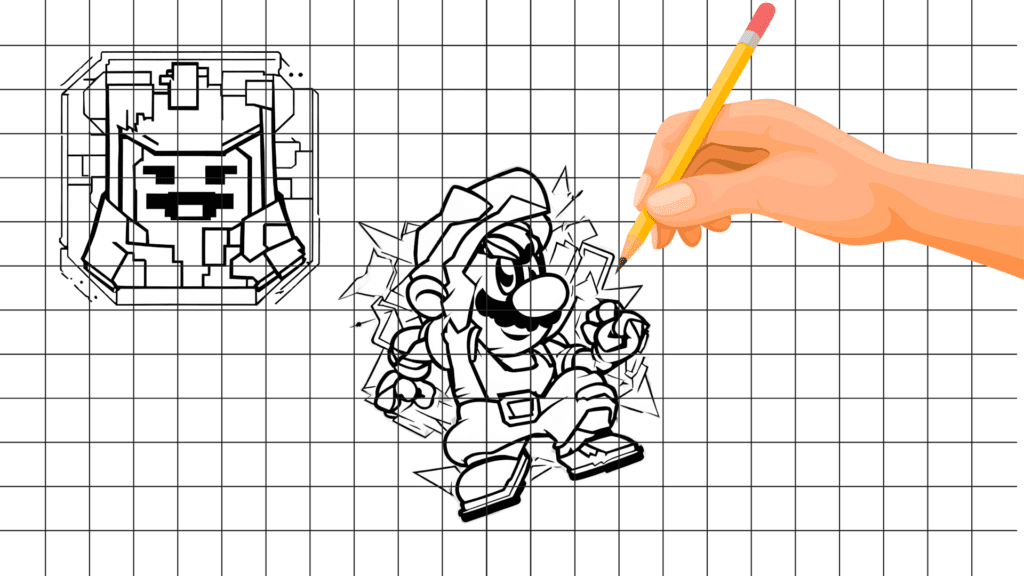
When you’re sketching out that outline, keep a few pixel art principles in mind:
- Stick to straight lines or curves that flow with a grid pattern. Dodge diagonals; they can make your edges look jagged or leave weird gaps between pixels.
- Be stingy with your pixels. Use as few as possible to create a shape that’s crystal clear. Skip unnecessary details; you don’t want your pixel art looking like a messy puzzle.
- Keep your line widths consistent. Unless you’re intentionally playing with thickness for shading or perspective, it’s best to avoid the rollercoaster effect.
- Add some spice with corners and curves to create contrast and interest. Steer clear of making your outline too smooth or round unless that’s your deliberate art style.
4. Add Colors and Shading
Alright, so you’ve got the outline sorted. Now, let’s spice things up a bit. Think of adding colors and shading like putting the cherry on top of your pixel sundae – it’s what makes your digital art stand out and scream, “Look at me!”
Meet your tools of precision: the Paint Bucket and Eyedropper. The former graciously fills your canvas with hues, while the latter allows you to selectively borrow shades from existing pixels.
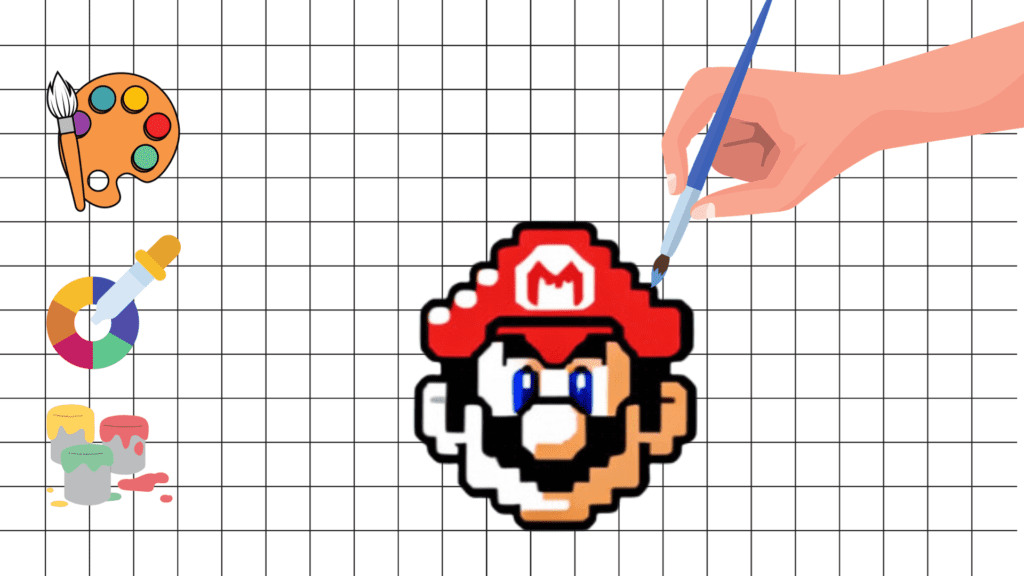
While enjoying your creative freedom as a pixel artist, try to adhere to the following principles:
- Simplicity is Key: Don’t go overboard with colors. Stick to a palette that vibes with your art’s style. Too many hues can turn your masterpiece into a messy fiesta.
- Mix it Up: Play around with shades or pick colors that get along. It’s like creating a perfect harmony. Avoid colors that scream at each other or melt into a blob.
- Light and Shadow Play: Use different tones to show where the spotlight is and where it’s taking a break. Avoid using pure black or white colors in your pixel art image. Nobody likes a flat storyline.
- Dithering Charms: Want a smooth color transition? Dithering is your secret sauce. It’s like creating a cool checkerboard effect. Just don’t go crazy – too much and it’s a messy disco, too little and it’s a snooze-fest.
In essence, with a thoughtful application of colors and shading, you are sculpting not just visuals but the very ambiance of your pixel creation. Proceed with finesse, let each pixel resonate, and witness the transformation unfold.
5. Add Details and Effects to Your Pixel Art
Now, it’s time to breathe life into your pixel art with cool details and eye-catching effects. Think of these as the fancy extras that make your creation pop and give it that personal touch – totally up to you, but oh-so-worth it.
You’ve got a whole playground of options here: textures, patterns, outlines, highlights, shadows, reflections, glows, sparkles – you name it! It’s like sprinkling a bit of magic on your masterpiece.
In your pixel art software, leverage tools such as the Eraser for precision, the Brush for expressive strokes, and the Smudge tool for seamless blending. As you gain expertise, you can also up your game with the Dodge, Burn, Blur, and Sharpen tools to finish your pixel art drawing.
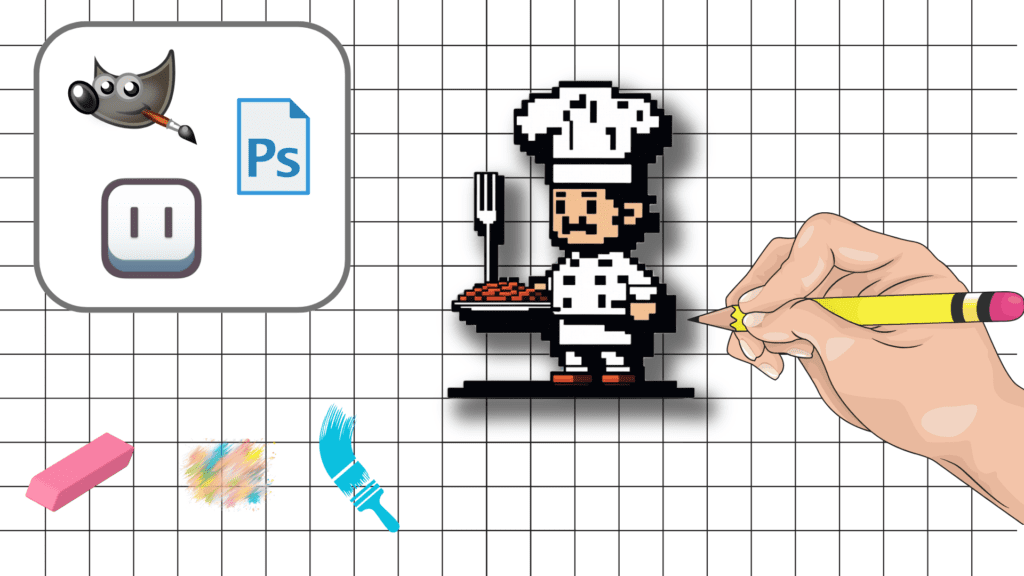
At this stage, let your artistic intuition guide you as you weave a tapestry of details and effects, transforming your pixel art into a captivating masterpiece.
6. Save and Export
In your graphic software, navigate to the saving/exporting options. Common formats include PNG, JPEG, or GIF, each serving a specific purpose. PNG is ideal for retaining high-quality images with transparency, while JPEG is suitable for compressed yet vibrant visuals. GIF, on the other hand, supports animations.
How to Create Pixel Art Using AI
The pixel art tutorial outlined above may seem simple, but learning how to make good pixel art takes hours and hours of practice. There’s no substitute for the expertise that you gain through hard work and first-hand experience.
So what can you do if you need good-quality sprites quickly, but have no time to learn pixel art creation techniques? Our AI image generator’s got you covered!
1. Generate Pixel Art From Text
The first method to start making pixel art scenes or sprites using AI is to generate them from a text prompt.
- Navigate to our free AI Image Generator.
- Describe the sprite or scene that you’d like to create.
- Click on Advanced Settings.
- Select Pixel from the Art Style dropdown menu.
- Optionally, select the lighting style and mood for your image.
- Click on Generate.
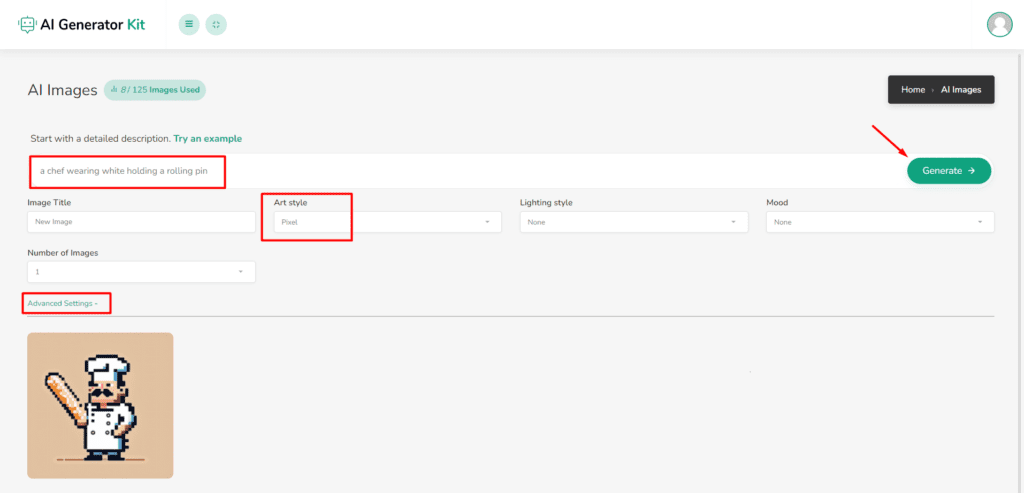
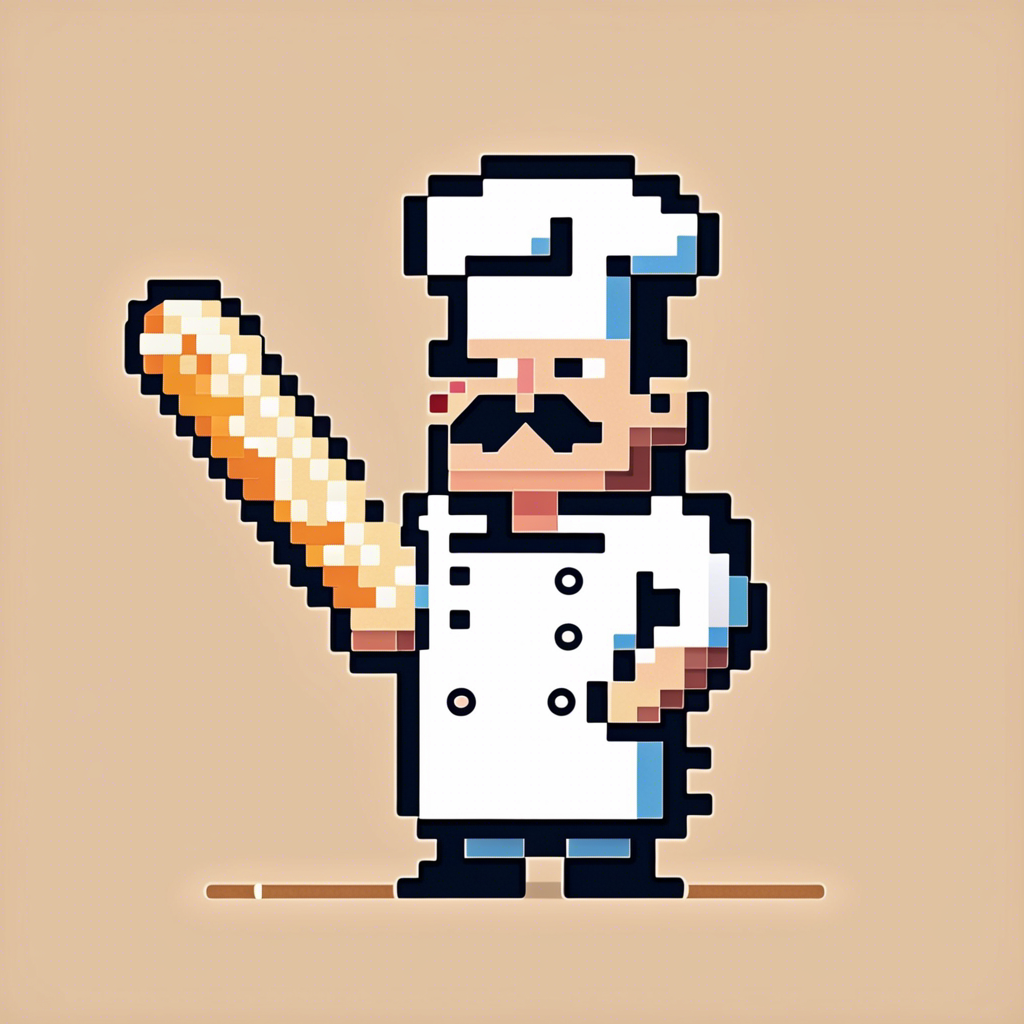
Voila! Your professional pixel art masterpiece is ready in seconds. If it’s not exactly what you had in mind, feel free to generate another one, or edit using Microsoft Paint or your favorite pixel editor.
2. Convert an Image to Pixel Art
The second method is to create pixel drawings from your normal photos or sketches.
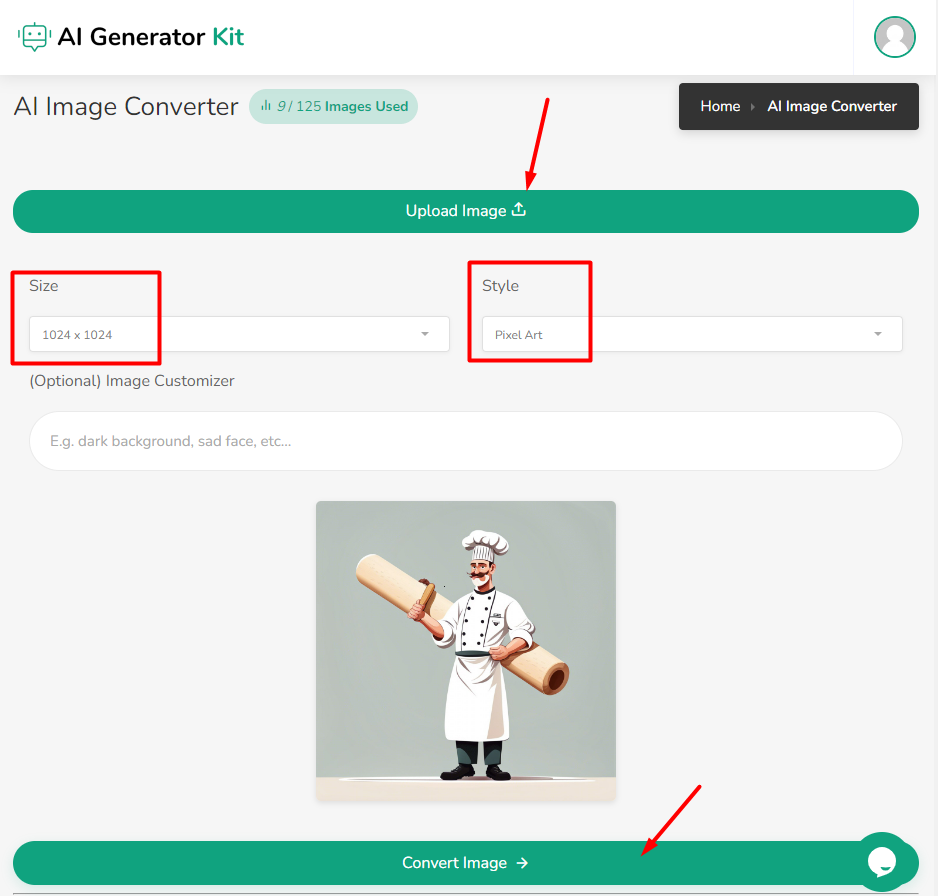
- Navigate to our free AI Image Converter.
- Upload your photo. If you don’t have a sketch or image, you can generate one using our AI image generator.
- Select your desired image size.
- Select Pixel Art style from the drop down.
- Click on Convert Image to get your result.
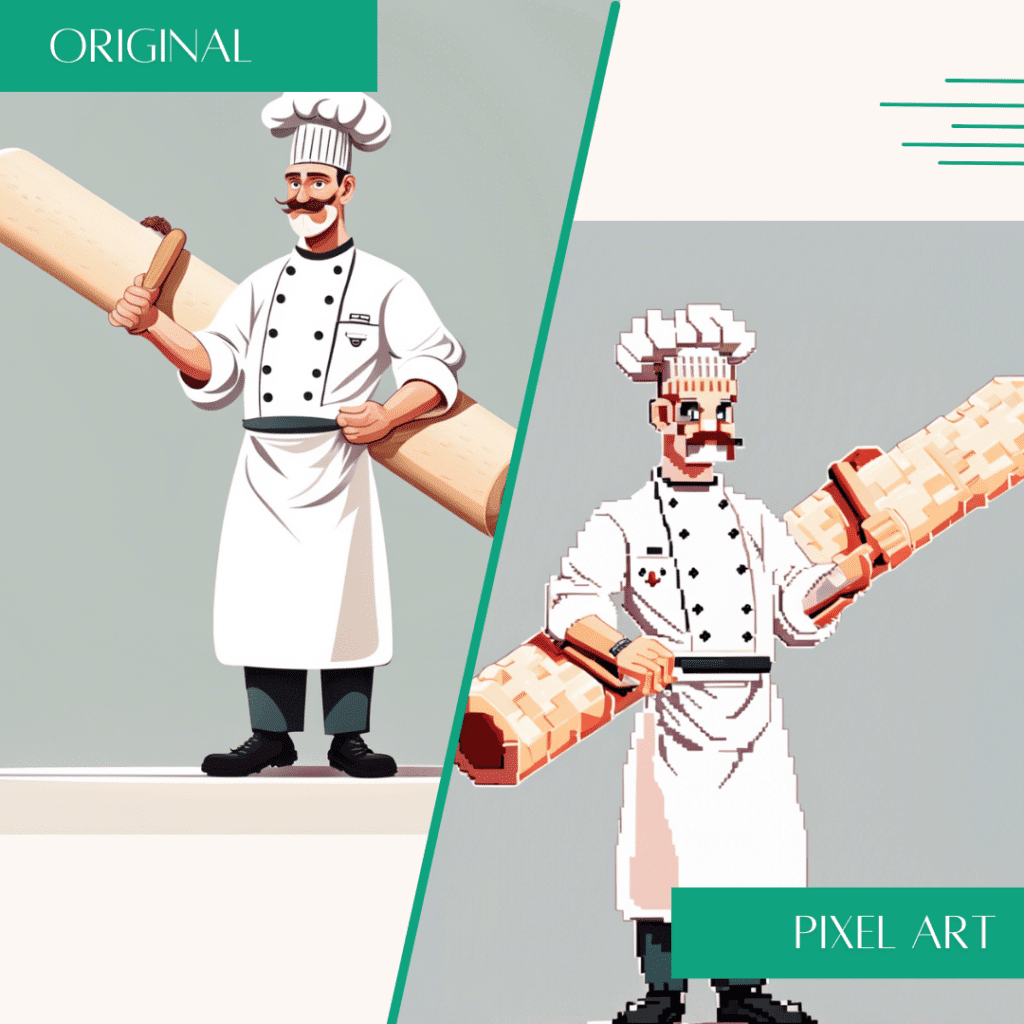
You can go ahead and modify your pixel art in Photoshop if it doesn’t meet your expectations or try hitting Convert Image again to generate an other variant.
Conclusion
In the colorful world of pixel art, you have two fantastic paths to explore: the classic pixel-wide journey and the modern magic of AI. Whether you’re just starting with a 32×32 canvas or reminiscing about Sonic the Hedgehog’s 8-bit days, there’s a beauty in the simplicity and charm of pixel art.
With traditional methods, you’ll discover the essential steps of pixel placement, choose from a rainbow of colors, and focus on getting that uniform length of pixels. It’s easy to learn, and the satisfaction of creating something pixel by pixel is timeless.
On the flip side, there’s the AI-powered adventure, where technology lends a hand in making pixel art creation even more accessible. It’s a good way to add a contemporary twist to your pixel art endeavors, and it might just save you some time.
Whether you opt for classic or embrace the new, pixel art is a form of expression that has come a long way from the 1970s and 1980s game consoles. So, grab your pixel art tools, choose a file, and start drawing. After all, the world of pixel art is yours to explore, pixel by pixel. Happy pixelating!


